


Last week I signed up to bring a treat to my toddler’s day
care Valentine’s Day party. The only other thing listed on the sign-up sheet
was cupcakes, so I thought I’d bring something savory. But what to bring. I was
browsing pinterest and saw a cute craft where you shape a toilet paper roll into
a heart and use it as a stamp. This sparked an idea. I made cream cheese
pinwheels for the KLAW’s first birthday… I wondered if I could shape them in to
hearts. Turns out, I could – they looked super cute and were quite tasty! I
modified the original recipe to make it a little more red and valentines-ish. Here
is the recipe. It wasn't a hit with all the toddlers, but you could modify the
mix-ins to suit your audience’s taste. It takes less than 30 minutes to prepare the night before your event, then another 15 minutes or less to slice them up the day-of. This recipe makes 40 pinwheels.

INGREDIENTS
2 eight ounce packages of cream cheese (softened)
1 package ranch dressing mix
½ cup diced red pepper
¼ of a red onion, diced
2 ounce can of chopped olives
½ cup shredded cheese
4 large sun-dried tomato tortilla wraps
Mix the ranch dressing mix into the cream cheese, then fold
in the pepper, onion, olives and cheese.
 |
| Try not to eat the mixture |
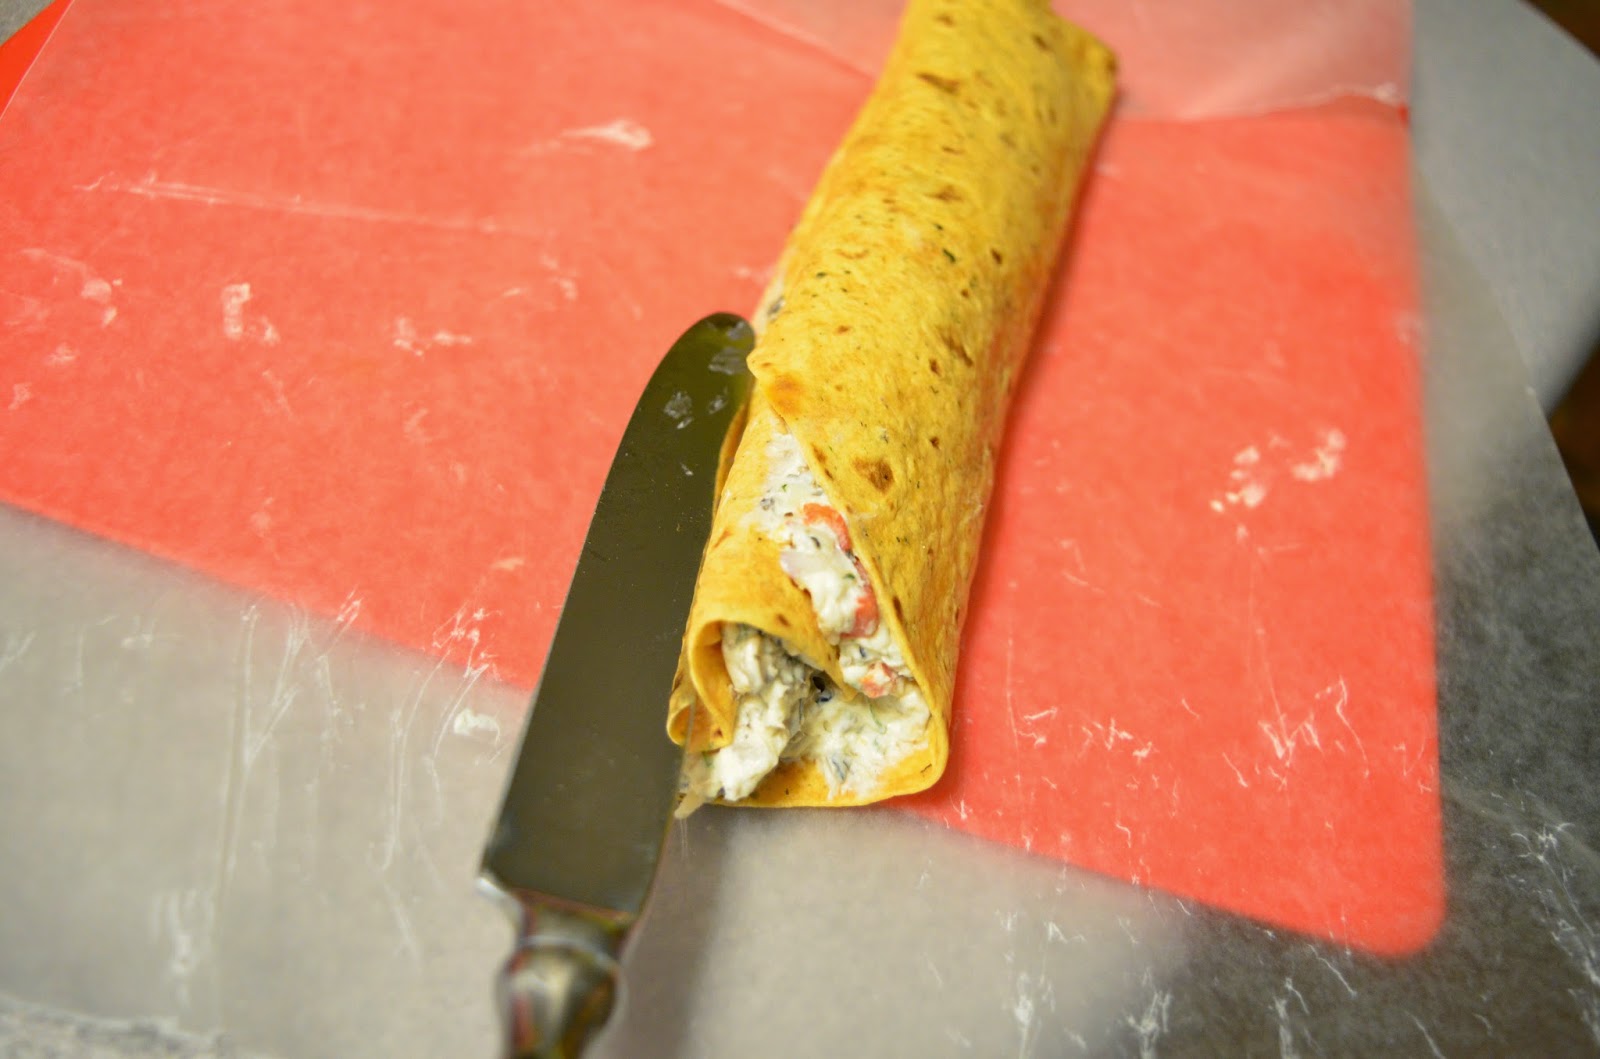
Spread the mixture on the tortillas. You can go easy on spreading the mixture on the two sides
that become the open ends of the roll because you will slice them off.


Roll the tortillas tightly.

Once they
are rolled, form the hearts. Pinch one side to form a point, along the roll, to
form the bottom of the heart. Opposite the point, use the dull end of a butter
knife to press in a divot along the roll to form the top part of the heart.

Wrap each tube Tootsie Roll style in waxed paper. Refrigerate overnight to
allow the ranch flavors to fully come out.
 |
| heart |
 |
| tootsie roll |
In the morning, using a serrated
knife to gently saw the roll so as not to smoosh it, cut the ends off the
rolls, and then slice each tube into approximately 10 slices (about ¾”-1" each). You
can pinch the slices to make them a little more heart-shaped if they look
wonky. Arrange on a plate and serve!
 |
| slice into 3/4" slices |
 |
| arrange artfully |


.jpeg)
.jpeg)