Showing posts with label Recipe. Show all posts

Wednesday, July 27, 2016

Vegan Soyrizo Tacos

We had family over tonight for dinner, and I made this up on the fly using ingredients we had in the house. It was a hit with the vegetarians and omnivores alike, and had folks going back for seconds! I typed up the recipe to recreate again sometime! The two specialty ingredients in this really made it. One was the Soy Chorizo from Trader Joe's. I was anticipating the kind of chorizo that is a sausage you can slice, but I was thrown off that this was like a ground meat product once you removed the casing as instructed. It ended up being a blessing as it converted a boring grain dish in to TACO TUESDAY! It was really flavorful, with a strong salt and cumin flavor that meant the whole dish required no additional seasoning.
The second special item was a bag of "Earthly Grains Quick Cook 5 Grains" from Aldi. It has spelt, barley, wheat, rice, and wholegrain oats. I've seen these at a couple Aldi's, but as with all things Aldi they are ephemeral and you might not find them. Any healthy grain - quinoa, farro, freekeh, wheatberries, brown rice, etc. would do nicely, but I'd recommend some of the larger. chewier ones for the texture. 

Vegan Chorizo (Soyrizo) Tacos

1 package Earthly Grains 5 Grain Blend (or 1.5 cups dry grains of your choice)
2 tbsp olive oil
1 bunch fresh spinach, stems removed
1 medium onion, chopped
1 green pepper, chopped
1 package Trader Joe's Chorizo
1 bag (10 oz) frozen corn
1 can (~16 oz) great northern beans (or canellini beans/white kidney beans)
1 tomato, chopped
1 can (6 oz) black olives, sliced
20 small taco size tortillas (flour or corn)
Grated soy cheese, as desired

Prepare the grains according to the package. While the grains cook, in a large pan, heat 1 tbsp olive oil. Cook the spinach until wilted, and set aside. Add another tablespoon olive oil and sautee the onions on medium until slightly translucent and browned. Add the green pepper and cook another few minutes. Remove the casing from the soyrizo and add to the pan, stirring to break up the crumbles. After a few minutes add the frozen corn and cook until thawed. Add in the beans, tomato, olives and spinach, stirring to combine. Add the chorizo mixture to the grains and fill tacos with the mixture and top with cheese.

This made a LOT of food, and I bet it would freeze well rolled up burrito style to reheat later. Speaking of reheating, I'll have to add a picture of the final product when I have the leftovers!

Thursday, June 9, 2016

Vegan Banana Blueberry Lactation Muffins


My nursling has a sensitivity to both eggs and milk, which means I've had to cut them from my diet. Because of that, I can't have most standard baked goods and really miss those sweet treats. I was having some moms over for a meeting to plan our upcoming expo in support of World Breastfeeding Week, so I made some lactation cookies. But since I had some over-ripe bananas, blueberries, and the galactagogue trio of flax meal, brewers yeast, and oatmeal on hand, I thought I'd try to make some muffins, too. Fun fact: flax meal soaked in water is a good egg replacement! I couldn't find a recipe online that exactly fit the bill for what I imagined making, so I modified a few I found online. The cookies came out okay, but the muffins were the real hit. I was a little short on flour, and the muffins were a little TOO moist (if there is such a thing), so I'm modifying the recipe to include a little more flour than I used. I also threw in all the blueberries we had left, which was slightly more than the cup the recipe calls for.

Vegan Banana Blueberry Lactation Muffins
Yield: 12 muffins

Ingredients
2 tbsp flax meal
4 tbsp warm water

1/3 cup cocount oil
2 medium ripe bananas
1 tsp vanilla
1/4 cup unsweetened almond (or other non-dairy) milk

1/2 cup white sugar
1/4 cup brown sugar
1 1/4 cup flour
1 cup quick oats
2 tsp baking powder
1 tsp baking soda
2 tbsp brewers yeast
1/4 tsp salt

1 cup blueberries

Directions
Preheat oven to 350 degrees. In a small bowl, combine flax meal and warm water. Allow to soak while you prepare the remaining ingredients, at least 5 minutes. In another small bowl, microwave the coconut oil until liquefied. Combine the dry ingredients (sugars, flour, oats, baking powder, baking soda, brewers yeast and salt). In a medium bowl, mash the bananas, Add the remaining wet ingredients (vanilla, milk, oil and flax meal slurry). Add the wet ingredients to the dry ingredients and combine. Fold in the blueberries. Pour batter in to a greased or lined muffin tin, approximately 1/4 cup batter per muffin. Bake for 20-25 minutes. Allow to cool slightly before serving.

Tuesday, May 26, 2015

I Picked a Peck of Pickled... Radishes?


With my radish crop becoming ripe, I found myself with more radishes than I could possibly consume on my own. The best way I could think of to extend the life of my produce was to pickle them. Last night I did just that.


I first harvested all the radishes. There were a handful that were still too small, and may never full develop, but the yield from my twelve square feet of garden (after having already picked enough for a snack and a side dish) was well over 100 radishes. And I still have time to replant in that same square footage, if I wanted (and I probably will). Those hundred radishes resulted in 7 jars of pickles, with three of those having carrots mixed in. It would have been six 16 oz. jars of all-radish pickles.


I decided to try a couple different recipes, since I have no clue what the result would be. Naturally, I turned to pinterest and found two promising variations. One was a basic pickle, using apple cider vinegar and honey. The other was a more Asian style using rice vinegar and sugar.


I began by prepping all my radishes, removing the greens and roots. The chickens and goats seemed to enjoy those, so there is no waste! Then I sliced all the radishes to about 1/8" thickness using my mandolin, which made them nice and consistently sized, and saved me a bunch of time, I'm sure. Radishes are so small that it was a little difficult to use the hand guard thing, but I've watched enough food network to know you should never use a mandolin with your bare hands.


For the first recipe, courtesy of gardentherapy.ca, I stayed pretty true to the recipe except I used pickling salt instead of sea salt. I'm hoping the amounts required to get a good brine are pretty consistent between those two.


For the more Asian version, I modified slightly a recipe I found on the Whole Foods website to use ingredients I had on hand. Those jars contain a mixture of 2/3 radishes and 1/3 carrots. I omitted the cucumber, chilies, ginger, and onion - all of which would make them way more delicious but I didn't have the foresight to pick them up at the store. Next time! I also played with the pickling juice a bit and tested three variations:

  1. Rice vinegar and pickling salt
  2. Seasoned rice vinegar and pickling salt
  3. Seasoned rice vinegar and pink Hawaiian salt

They are in the fridge now, since both recipes are considered "quick pickles" and are not meant for long term storage. They should be ready to try by tomorrow! I'll report back with the results. fingers crossed!


Saturday, May 23, 2015

Everything's Coming up Radishes


Establishing a new farm takes a lot of patience. Waiting for the seasons to change, baby animals to grow, and gardens to start producing a bountiful harvest all require a huge investment of time and energy before there is any tangible reward. At the advice of our local Ag Extension office, I planned to get the seeds in the ground for our garden on or around April 15th. Well, mother nature had a different plan and dumped two weeks of rain on us right when I'd hoped to plant. Once the rain cleared and I was able to till the garden patch, the seeds finally went in the ground, right at the end of April. And then I waited. With no previous experience with the local soil, and never having planted a garden this big or varied, I have no idea what to expect.

Our garden has somewhere around 70 varieties of produce planted, the bulk of which are seeds from a kit we purchased a while ago that was intended as something you could keep stored in the event of societal collapse ... or if you just wanted a crap ton of seeds that were heirloom varieties. Because the kit came pre-assembled, it included many items I would have probably passed over when browsing the seed racks at the local shop, such as Swiss chard or radishes. Radishes have never held much of an appeal to me. I have never scooped a single radish on to my plate at the salad bar. I'm not sure why, perhaps just ignorance. But into the ground radish seeds went, figuring what the heck, if nothing else I'd find a radish-loving neighbor.


Lo and behold, the first green sprouts to show their leafy faces, were the radishes. They grew quickly and plentifully. I checked my notes, and realized the radish takes only 21-28 days to mature. Which means, a month into my garden I've already had my first harvest! I sampled some of the young radishes, which were so surprisingly tender and moist. I ate those sliced with some salt, and when I shared photos of my small bounty, my friends asked what recipe I would be preparing. Recipe? You mean radishes can be used for something other than salad garnish? A quick scan of pinterest revealed a slew of options for these mysterious quick-growing root vegetables.


Tonight I pulled a huge bunch of radishes fresh from the garden. Tom wanted to grill, and I didn't have time to run to the store to pick up corn or potatoes, or another staple grilling accompaniment. I know that anything you roast you can just ass easily do in a foil packet on the grill, Radishes aren't all that different from potatoes, right? 


I washed the bunch of radishes, removed the roots and greens, and quartered them. I tossed the radishes in the foil packet with a drizzle of olive oil, some salt and pepper, and a sprinkling of garlic powder for good measure. I decided to keep it simple since I had no clue what a cooked radish tasted like.  It turns out it's reminiscent of a beet crossed with a Brussels sprout. The cooking cuts the inherent spiciness of the radish but imparts a certain... earthiness? Anyhow, I recommend this recipe if you want to try a little something different. I feel a little silly writing out the actual recipe since it's so ridiculously easy, but here ya go:


Grilled Radish Packets

1 bunch radishes (about 14)
Olive oil
Salt & Pepper to taste
Garlic powder or other seasonings

Remove roots and greens from radishes and quarter. Place on a large sheet of heavy duty foil. Drizzle with olive oil and sprinkle with spices. Close foil packet up securely. Place on the upper rack of a hot grill and cook for 15-20 minutes until tender.

Enjoy!

Saturday, March 14, 2015

Pi Day Recipe: Cutie Pie!


The KLAW is now an 18 month old toddler with a strong will. He knows what he wants, and even though he has a very small vocabulary, lets us know exactly what that is. Lately the thing he wants most is FRUIT!  He will eat fruit for breakfast, lunch, dinner and snacks. Today he has had five bananas. I know this is about four too many, but at least it's something unprocessed and full of nutrients. He can say banana (nana), but also loves apples, pineapple, grapes and citrus, especially clementines or mandarins.
mmm nanas!
peeling Cuties
The Cuties clementines/mandarins are especially great because he likes to peel them once I get it started. Then they break up in to bite-sized seedless wedges, perfect for little hands (as advertised). I made the mistake of buying another type of orange citrus (tangerines, I think) and made a huge mess every day as I unseeded the darn things for him.
Cuties!
Pi Day is here, an annual tradition observed on March 14th (pi=3.14=3/14) by nerds like me around the world. This year is going to particularly epic. Pi to many decimal places is 3.141592653 which makes the magical moment 3/14/15 at 9:26:53 a.m. or if you want to be extra specific 3.14159265359 which rounds to 3/14/15 at 9:26:54 in the morning. But with a toddler around, I would be doing pretty good to have anything coordinated in the nine o'clock hour, in some time zone somewhere. We'll be having breakfast pot pies (the cheapie Budget freezer ones) at that epic moment, or thereabouts.


But I still wanted to have a sweet pie, so I came up with an idea for a pie I can make ahead of time and serve after our supper (or maybe lunch, we'll see). Combining my kid's love for the Cuties and the momentous Pi Day, I came up with... wait for it... the CUTIE PIE! Get it? Get it? I crack myself up. I have a family-favorite standby recipe from my Gram for key lime pie. It is so universally loved that it even won a bake-off at my former employer which meant the recipe was printed on their Recipe Hand Towels and sold to the public!
Wisteria Recipe Hand Towels
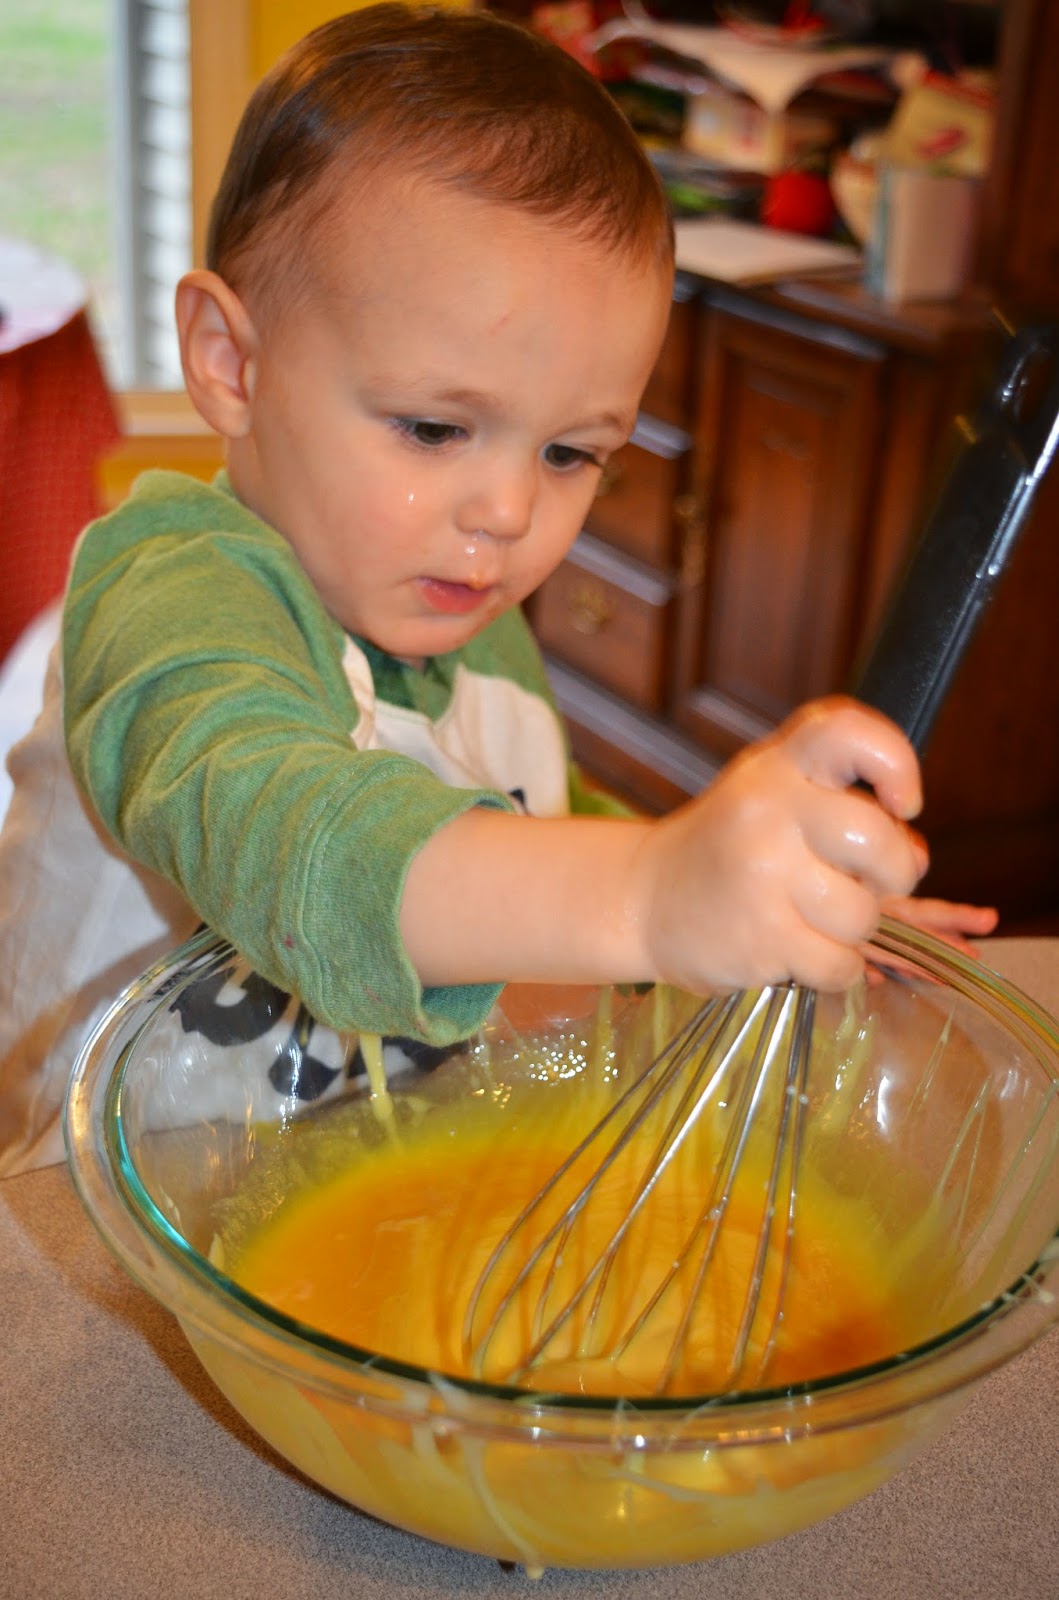
For the Cutie Pie, I simply substituted orange juice concentrate for the lime juice and added a dash of lemon juice to give it some extra tang. I was going for a Creamsicle type flavor. Garnished with some fresh Cutie wedges, and voila, a simple Cutie Pie that even a toddler can help make.


The Cutie Pie

Ingredients
1 can Sweetened condensed milk
1/2 cup Orange juice concentrate (no pulp, thawed)
1 tablespoon lemon juice
8 oz. container (regular) Cool Whip (thawed)
1 large graham cracker crust
Cutie clementine wedges for garnish

Directions
Whisk sweetened condensed milk with orange and lemon juice. 


Fold in Cool Whip until just blended. 
Pour filling in crust.  

Refrigerate 6 hours or overnight. You can also freeze it to serve later. Garnish with Cutie wedges before serving.


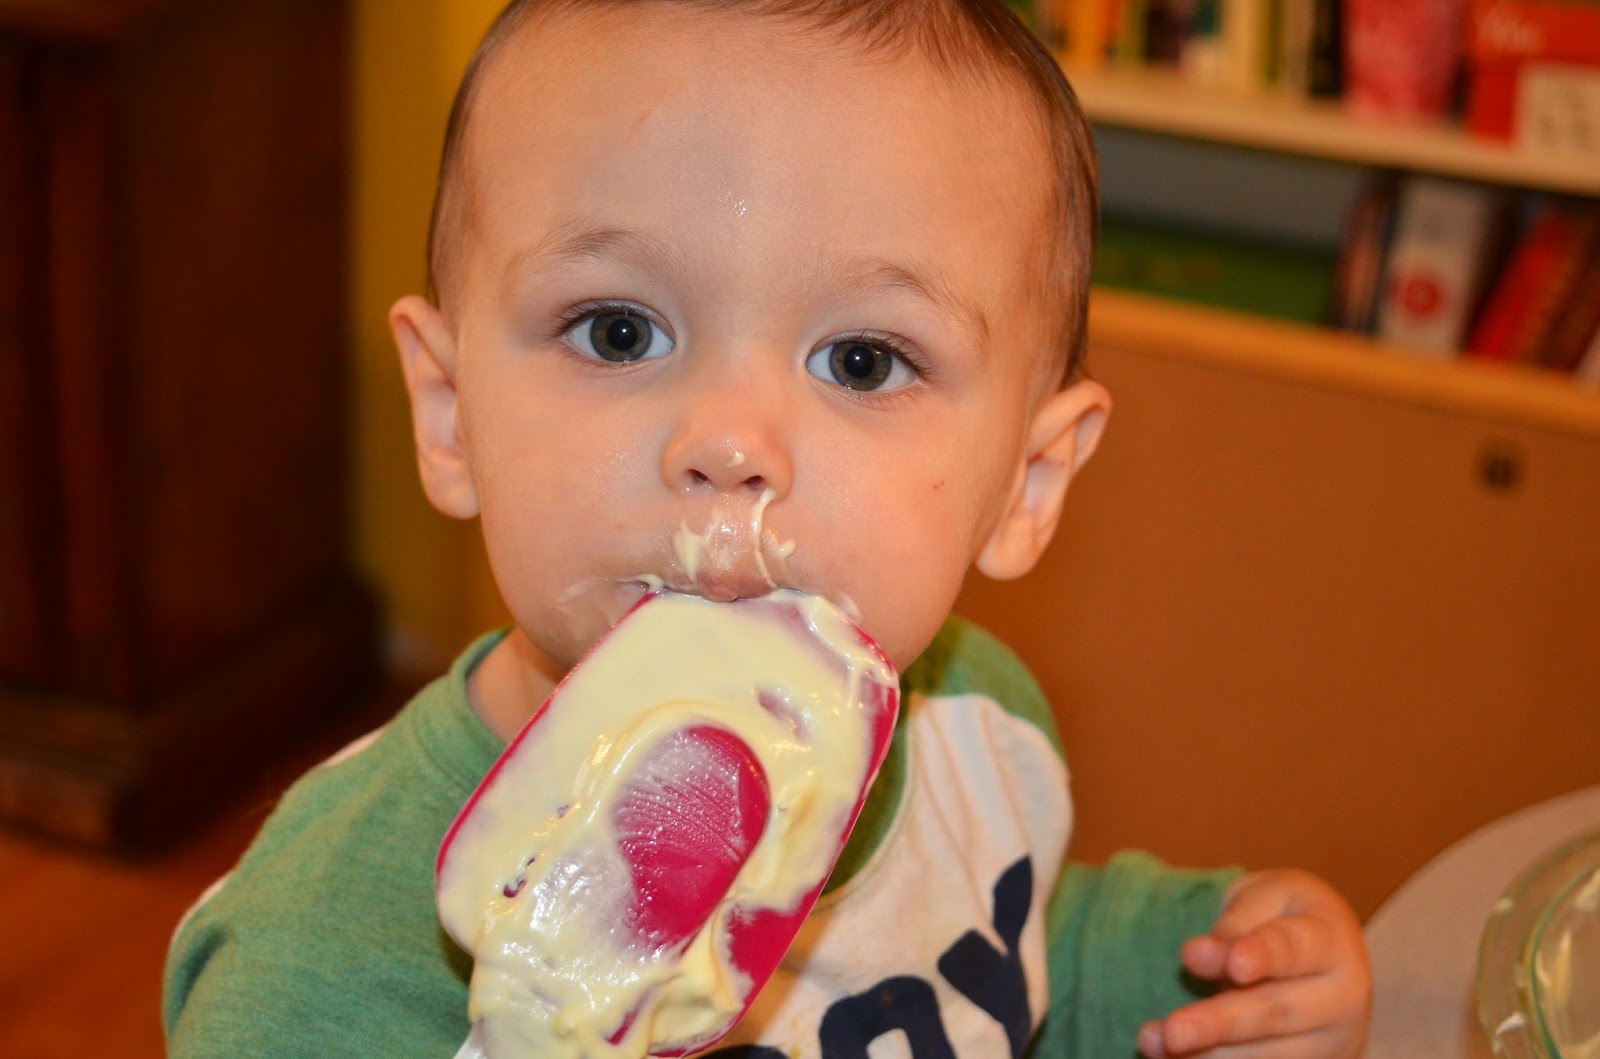
Don't forget to lick the spoon and whisk!

And clean up any sticky messes. 


Friday, February 13, 2015

Valentine Pinwheels Recipe


Last week I signed up to bring a treat to my toddler’s day care Valentine’s Day party. The only other thing listed on the sign-up sheet was cupcakes, so I thought I’d bring something savory. But what to bring. I was browsing pinterest and saw a cute craft where you shape a toilet paper roll into a heart and use it as a stamp. This sparked an idea. I made cream cheese pinwheels for the KLAW’s first birthday… I wondered if I could shape them in to hearts. Turns out, I could – they looked super cute and were quite tasty! I modified the original recipe to make it a little more red and valentines-ish. Here is the recipe. It wasn't a hit with all the toddlers, but you could modify the mix-ins to suit your audience’s taste. It takes less than 30 minutes to prepare the night before your event, then another 15 minutes or less to slice them up the day-of. This recipe makes 40 pinwheels.


INGREDIENTS
2 eight ounce packages of cream cheese (softened)
1 package ranch dressing mix
½ cup diced red pepper
¼ of a red onion, diced
2 ounce can of chopped olives
½ cup shredded cheese
4 large sun-dried tomato tortilla wraps

Mix the ranch dressing mix into the cream cheese, then fold in the pepper, onion, olives and cheese. 
Try not to eat the mixture
Spread the mixture on the tortillas. You can go easy on spreading the mixture on the two sides that become the open ends of the roll because you will slice them off. 

Roll the tortillas tightly.
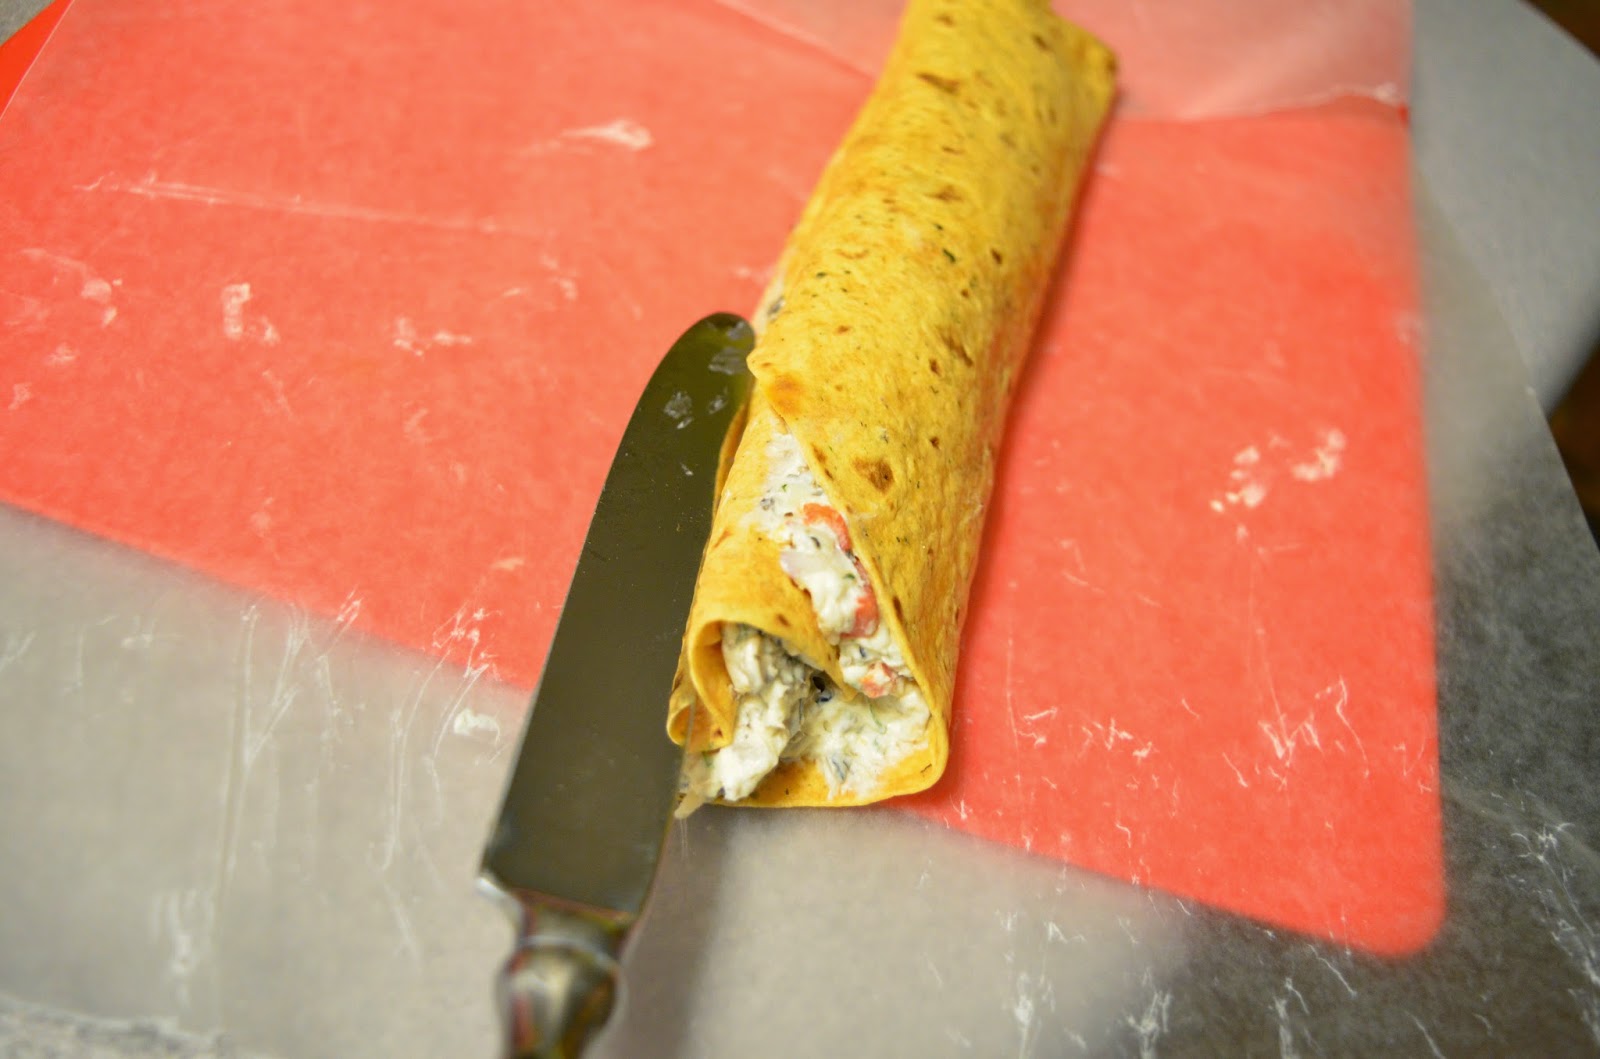
Once they are rolled, form the hearts. Pinch one side to form a point, along the roll, to form the bottom of the heart. Opposite the point, use the dull end of a butter knife to press in a divot along the roll to form the top part of the heart. 
Wrap each tube Tootsie Roll style in waxed paper. Refrigerate overnight to allow the ranch flavors to fully come out. 
heart
tootsie roll
In the morning, using a serrated knife to gently saw the roll so as not to smoosh it, cut the ends off the rolls, and then slice each tube into approximately 10 slices (about ¾”-1" each). You can pinch the slices to make them a little more heart-shaped if they look wonky. Arrange on a plate and serve!
slice into 3/4" slices

arrange artfully