Friday, April 24, 2015

The bees are here!

Our first colony of bees has arrived at the Lazy Duck Ranch, and they are already working on pollinating around our place! We spotted some of our bees enjoying a patch of yellow blooms in our yard today. Tom was very excited to see the bees out doing their thing, as it indicates a healthy hive.
The gentleman who provided us with the swarm that came as part of our bee club raffle prize package let us know our hive was inhabited and ready for pickup on April 12th. He provided us with an established hive rather than a swarm. This meant that 70% of the frames that make up the first level of the hive were already full of honey comb. This is good news because that means they already have a good start on building their stores for next winter and chances are better that we might have a little surplus honey to enjoy ourselves this fall.

Tom is getting used to suiting up to check on the hive, and is working to overcome that innate fear of being surrounded by creatures who could, if they so desired, inflict great pain. A bee inside his veil didn't help ease the transition.

Within a few days of the hive's arrival, it was overrun by ants in search of the sweet honey. Tom did his research and employed a combination of methods to deter the ants, including lifting the whole setup onto cinder blocks and putting cinnamon sticks, which break up the ant's scent trails, between the stand and the hive..
Tom proudly wears his RightStar shirt, the perfect attire for beekeeping.
Our second bee colony arrives in a couple weeks. Time to get the second hive ready for them, and get prepared to install the queen in her new home, all on our own!

Monday, April 6, 2015

Baby Led Weaning: An Introduction


I recall being at a barbecue, about 1 year B.C. (before children) and seeing my friend Kristen's young daughter toddling around in adorable cloth diapers, munching on a stalk of raw broccoli. I was flabbergasted. Cloth diapers in 2012? Babies eating food that wasn't pureed into an unidentifiable mush? I immediately began peppering her with questions. How I adopted her cloth diaper ways is a story for another post, but I was intrigued to learn from her about this thing called Baby Led Weaning. I learned that babies, from a very early age, can eat a variety of whole food, and THEY LIKE IT! You mean I didn't have to wash blender parts, prepare 87 different recipes, or drop a small fortune in the baby food aisle to make sure my kid was getting the best food out there? Sign me up!

I did my research once The KLAW was born, and we decided to give this BLW stuff a try. I love talking about our experience with it, and find myself sharing tips over and over within my mom groups. My friend Darcy challenged me to write a blog post on the topic, and I thought it was a great idea. Not only could I reach more people, it would save me from retyping the same way-too-long facebook posts every few weeks.

Very Hungry Caterpillar
Please note: I've had one child. His personality and developmental curve led themselves to BLW. He tried everything I offered him, so much so that his first birthday had a "Very Hungry Caterpillar" theme. But remember: Every baby is different. YMMV. I hope you can use these tips, but please don't despair if your experience with your own child isn't the same as ours. As long as your kid is reasonably healthy (peeing, pooping, growing), you're doing great. And if your kid is fed a pouch or a puree - don't panic! Your kid is not broken! It's not worth ruining Christmas because a well-meaning Grandma thought little Jimmy looked hungry and needed some nom noms and shoved mashed banana in his face with a spoon.

First, what exactly is Baby Led Weaning? In my experience, it has absolutely nothing to do with weaning. The KLAW is still nursing many times a day, but also loves to eat solid food. It should be called Baby Led Food Introduction, in my opinion. Basically, you take cues from your child as to what they are ready to try in terms of solid food, and introduce accordingly. They are fed table foods, just like mama and dada eat, complete with seasonings and (unless it is a normally pureed/soft food like applesauce or mashed potatoes) they are served in easy to handle pieces. The child is offered the food, and eats as much as he wants. This supposedly teaches portion control and reduces obesity later in life. I found that some days The KLAW could put away an entire small chicken breast with some sides, and other days would rather feed the whole thing to the dog. Remember, for kids under one, food is for fun. Most of their nutrition is still coming from breastmilk or formula.

Happy to share
Signs of Readiness

This Cheeto is delish.
The signs your child is ready for solid table food become pretty obvious. He should be able to sit up, even if it's with some support in a padded high chair or bumbo. He should be showing an interest in what you are eating. We knew The KLAW was ready to start on solids when, at five months old, he grabbed a Cheeto out of his daddy's hand and started chomping on it happily. The next two signs are a kind of chicken/egg situation. The skills will start out rudimentary, but improve quickly with practice eating. The baby should be able to pick up an object in his fist, put it in its mouth, and gnaw on it. At first your kid might stab himself in the eye with a zucchini spear, then take a nibble and immediately eject it from his mouth with his tongue. NORMAL. He's learning. This will improve quickly. One difference between BLW and spoon feeding is that with BLW a baby learns to chew, then swallow, whereas with purees, the baby learns to swallow, then chew.

Next, he might get the food to the back of his mouth, but gag, and maybe even throw up. Traumatic, but again, NORMAL. Gagging is not choking. Your baby might choke on any number of food or non-food items. Knowing the baby Heimlich is important. But if your kiddo is trying to down a delicious piece of asparagus and suddenly looks and sounds like he's hacking up a hairball? Yeah, that's gagging. NORMAL. Look up BLW videos on YouTube to see what to expect. Soon your kid will go from grasping his food like a microphone to being able to pick up small pieces with his fingertips using a pincer grip. At this point your options for self-feeding increase dramatically. I honestly think that BLW helped The KLAW develop really great manual dexterity.

The KLAW was a dental prodigy from an early age. He cut his first teeth at 5 months, and is currently working on his two year molars (the final four baby teeth) at 18 months. While I think this helped speed along his affinity for solid foods, you would be freaking amazed what these little tykes can gum. The KLAW was eating bits of steak with two or four teeth. So if your child is showing all the other signs of being ready for food, don't let his gummy smile hold you back! Fun fact: Cold, raw foods with soothing properties (like cucumber) can provide teething relief, as can frozen fruits (such as grapes) offered in a mesh teether.

Pickles are delicious and feel good on my swollen gums
Allergies

Introduce new foods with caution, one food every three days or so to make sure there are no allergies. There is so much literature out there about allergies, all conflicting. Introduce peanuts too early, your child will have a peanut allergy. Don't introduce them early, your kid will have a peanut allergy. Who knows. We have no family history of food allergies, and no reason to believe our kid had any sensitivities based on the foods he received second-hand from my breast milk. So we stuck to the three day rule for a couple weeks, then just let him try whatever. I kept a list of foods he tried, so that we could back out what he might have reacted to, if he had a reaction. Process of elimination is easier when you only introduce one at a time, is the logic behind the three day rule.

Also, just because you see some redness on your kid's face, doesn't mean a trip to the ER. Consider what you just fed your child. Was is applesauce with a healthy dose of cinnamon or garlicky hummus? Did your kid smear it all over his face or drool incessantly throughout lunch? Ok, now think about how YOUR face would look if you gave yourself a cinnamon/garlic facial. Probably red and irritated. It's NORMAL. Use your mama gut, as with most things parenting-related.

But what about gluten and sugar? I dunno, but these donuts are delicious!
Honey is the one food that is an absolute no-no for any child under one. It is not an allergy situation, it is the fact that honey can contain botulism, which their little immune systems can't fight off. The botulism can't be cooked or filtered out, so can remain even in processed foods. Be mindful of honey graham cracker products, honey cereals, and honey butters. After the age of one, go nuts with the local honey, it's supposedly great to ward off those allergies!

What to feed your kid

By now you're probably thinking, ok great, but WHAT DO YOU FEED THE BABY? Again, the answer is, for the most part, whatever mama and dada are eating. I found myself modifying my meals or restaurant orders slightly to accommodate my youngin's developing palate. That means more soft finger foods to share (never order an infant a kid's meal, you'll be wasting your money). But if it tastes good to you, chances are it could taste good to your kid. Have you tasted rice cereal or "chicken pea pear" puree baby food? GROSS. If you wouldn't eat it, why would you want your kid to?

AVOCAD-NO!
Don't be afraid of spices and herbs, or dishes with several integrated ingredients. I found that The KLAW would not eat avocado, but would put away some guacamole on tortilla chips (the thin ones - super thick ones are no bueno for babies: not crumbly enough and with sharp corners). At seven months old he was eating curry, By one year he would eat salsa with a spoon. Not every kid will be like that of course, but you'll never know if you don't try. Even butter and garlic in mashed potatoes made them more appealing to my little guy. Limit salt and sugar to your discretion. Cook your food a variety of ways as you would for yourself. Roasted, grilled, or sauteed foods offer you more opportunity to infuse a little flavor than plain ol' steaming.

I set out with the intention of offering my kid wholesome healthy foods. ONLY wholesome healthy foods. File that delusion under "I was a better parent before I had a kid." When The KLAW's first food was a Cheeto, I realized that an organic, whole food, fresh-from-scratch every day lifestyle was, for us, a pipe dream. I mean, was I really going to give up Cheetos? My list of suggested foods includes nice healthy choices along with those quick and easy snack foods that are good for playdates, grocery store distractions, and other public/meltdown-inducing situations.

Stage One: Fist Grip and Gumming 

We tried one puree- Beets. It turned
our baby in to a zombie.
Start off with spear-shaped foods that little hands can grasp with a fist, leaving an end sticking out to gnaw on. Soft foods are preferable. You can also offer the child a loaded spoon (or loaded chip/cracker/bread) if the food is conducive to being eaten that way (like mashed potatoes or hummus on pita), but let him put the spoon to his mouth. Since your child is self-feeding, and is, let's be honest, still kind of a spazz, there will be a mess. Put the food directly on the high chair tray to avoid projectile bowls, invest in a good bib with a pocket to catch wayward morsels, lay down a tarp under the high chair (or get a dog), and stock up on washcloths. In early days, you might find that a sample of solid food simply whets your nursling's appetite for boob juice.

Stage Two: Pincer Grip


You can introduce smaller items now that they have chewing and swallowing down for the most part and can pick up little items with their fingertips. Things like blueberries, hot dogs and grapes can be introduced but should be monitored as they are choking hazards. To be safe, cut into non-windpipe sized pieces before serving. You can pre-cut bites of cooked meat or other knife-and-fork type foods for your kid


Stage Three: Utensils and Dipping

Offer your child a kiddie fork or spoon when they seem interested. At some point kids might begin to prefer to eat EVERYTHING off a fork, including whole dinner rolls, or want to dip all their food in some sort of sauce like ranch dressing or ketchup. At this point fingers may still be used too. Offer food pre-cut for little mouths. This toddler phase can include whatever you're having at mealtime.


Good First Foods for Stages One and Two


Fruits
Dried or Freeze-dried fruits (mango, pineapple, prunes, apricots, raisins, etc)
Apples (baked or sauce)
Banana
Kiwi
Oranges (Cuties or other seedless varieties)
Peaches or other stonefruit
Pears
Strawberries (and later smaller berries)

Veggies
Asparagus
Avocado (or Guacamole with chips)
Broccoli (cooked or raw)
Butternut Squash
Carrot sticks (cooked at first)
Cauliflower
Cucumber spears
Green Beans
Pepper strips (green, yellow, red - raw or cooked)
Potatoes (roasted wedges or mashed)
Sweet Potatoes (baked "fries" or mashed)
Zucchini spears

Grains, Proteins & Dairy
Cheese sticks
Egg (scrambled, hardboiled, quiche, etc.)
Hummus (on pita or pretzels)
Meats (soft meats like pulled pork or brisket, poultry in strips or chunks, ground beef etc)
Pancakes (or waffles)
Pasta (shapes like bowtie or penne are good, with any type of sauce)
Peanut Butter Toast fingers (or with jelly!)
Quesadillas
Refried Beans
Seafood
Tofu
Yogurt

Snacks
Animal Crackers
Goldfish
Lentil/Pea snap snacks
Pickles
Pirate Booty (cheaper than the Gerber puffs)
Pretzels (rods are good)
Salsa
Veggie Straws (in the chip aisle or healthfood section)

Pea snacks from TJ's
Resources

The main online resource for Baby Led Weaning is, naturally, babyledweaning.com. They have a facebook group as well. Wholesome Baby Food is another site many moms like for their healthy recipes, most of which are purees but is a good resource for baby nutrition in general and has a section on BLW. And of course, consult your pediatrician. She may think you're bonkers (mine gave me side-eye when, at his six-month appointment, I told her The KLAW had tried 40 foods already.), but can advise you on allergies and other factors particular to your baby's development.

Yum! Who doesn;t love fair corn?
Happy eating, and please feel free to contact me with any questions!


Sunday, March 29, 2015

The Bees' Needs

Life at the Lazy Duck Ranch is getting as busy as... well, a bee! We have chickens in the coop, goats in the pasture, and now we are just waiting for the bees for our hives. In addition to the hive we won at the beekeeping class, we purchased another setup just like it from the same vendor and plan to have two hives started this summer. As with most things on the farm, the bees will take a year to get established, so we don't anticipate much of a honey harvest this year. Patience is the name of the gane around here!

There is a local Amish man, Albert Zook, who recently took over the business from his father making beehives. We visited his workshop to pick up our hive. It was a neat experience, just showing up to someone's house where they have goods for sale. It is pretty common here for everything from produce and eggs to furniture and, in this case, beehives. The prices from this craftsman are about half what we'd pay from the beekeeping catalogs, so it was a no-brainer to shop locally! Plus the drive through the country to his home was gorgeous. When we arrived, there were the traditional Amish clothes drying on a line out front, and no electricity or motorized vehicles to be seen. His shop was immaculate (enviable given the current dust-covered state of our own workshop). He had a good stock of what we came to buy, but needed to put a few more nails in the hive stand we wanted, and did so on the spot.

Primed
WHOOPS! Overzealous painting
We needed to get one of the hives to the man who is going to provide us with the swarm of bees. Every year, a hive of bees grows a new queen and evicts the old one. She takes half the colony with her, creating a swarm. One of the members of our beekeeping club has 30 active hives, and collects and sells the swarms rather than harvesting the honey and selling that. Since he never knows when the bees might swarm, we had to get him the setup as soon as possible. I spent hours priming and painting our first hive. Hives are painted with exterior paint to protect them from the elements. I thought I was being extremely thorough when painting ours and made sure every speck of raw wood was covered. We come to find out that - whoops! - you're only supposed to paint the outside, because the smell of the paint on the inside can disturb the bees and cause them to reject the hive. So now we have to decide if we make the trip back to Mr. Zook to purchase replacements, or attempt to remove the paint from the inside somehow (heat gun or sanding, probably). Lesson learned. We returned with a properly painted box from our second hive setup and dropped it off to await its new residents. We have a second colony of bees on order through a catalog which will arrive at the post office around May 9th.

All that remains to prepare for our bee friends is to finish painting the rest of the hive parts (just the outsides!) and order the last few supplies we need to get us going. Bees start out drinking sugar water to jump start the honey production in the hive. This initial stock of honey is what will get them through the winter. So we need dispensers for that, and possibly the recommended additives to keep our hive healthy. We also probably need a second set of protective gear so we can both work with the bees at the same time.

Saturday, March 14, 2015

Pi Day Recipe: Cutie Pie!


The KLAW is now an 18 month old toddler with a strong will. He knows what he wants, and even though he has a very small vocabulary, lets us know exactly what that is. Lately the thing he wants most is FRUIT!  He will eat fruit for breakfast, lunch, dinner and snacks. Today he has had five bananas. I know this is about four too many, but at least it's something unprocessed and full of nutrients. He can say banana (nana), but also loves apples, pineapple, grapes and citrus, especially clementines or mandarins.
mmm nanas!
peeling Cuties
The Cuties clementines/mandarins are especially great because he likes to peel them once I get it started. Then they break up in to bite-sized seedless wedges, perfect for little hands (as advertised). I made the mistake of buying another type of orange citrus (tangerines, I think) and made a huge mess every day as I unseeded the darn things for him.
Cuties!
Pi Day is here, an annual tradition observed on March 14th (pi=3.14=3/14) by nerds like me around the world. This year is going to particularly epic. Pi to many decimal places is 3.141592653 which makes the magical moment 3/14/15 at 9:26:53 a.m. or if you want to be extra specific 3.14159265359 which rounds to 3/14/15 at 9:26:54 in the morning. But with a toddler around, I would be doing pretty good to have anything coordinated in the nine o'clock hour, in some time zone somewhere. We'll be having breakfast pot pies (the cheapie Budget freezer ones) at that epic moment, or thereabouts.


But I still wanted to have a sweet pie, so I came up with an idea for a pie I can make ahead of time and serve after our supper (or maybe lunch, we'll see). Combining my kid's love for the Cuties and the momentous Pi Day, I came up with... wait for it... the CUTIE PIE! Get it? Get it? I crack myself up. I have a family-favorite standby recipe from my Gram for key lime pie. It is so universally loved that it even won a bake-off at my former employer which meant the recipe was printed on their Recipe Hand Towels and sold to the public!
Wisteria Recipe Hand Towels
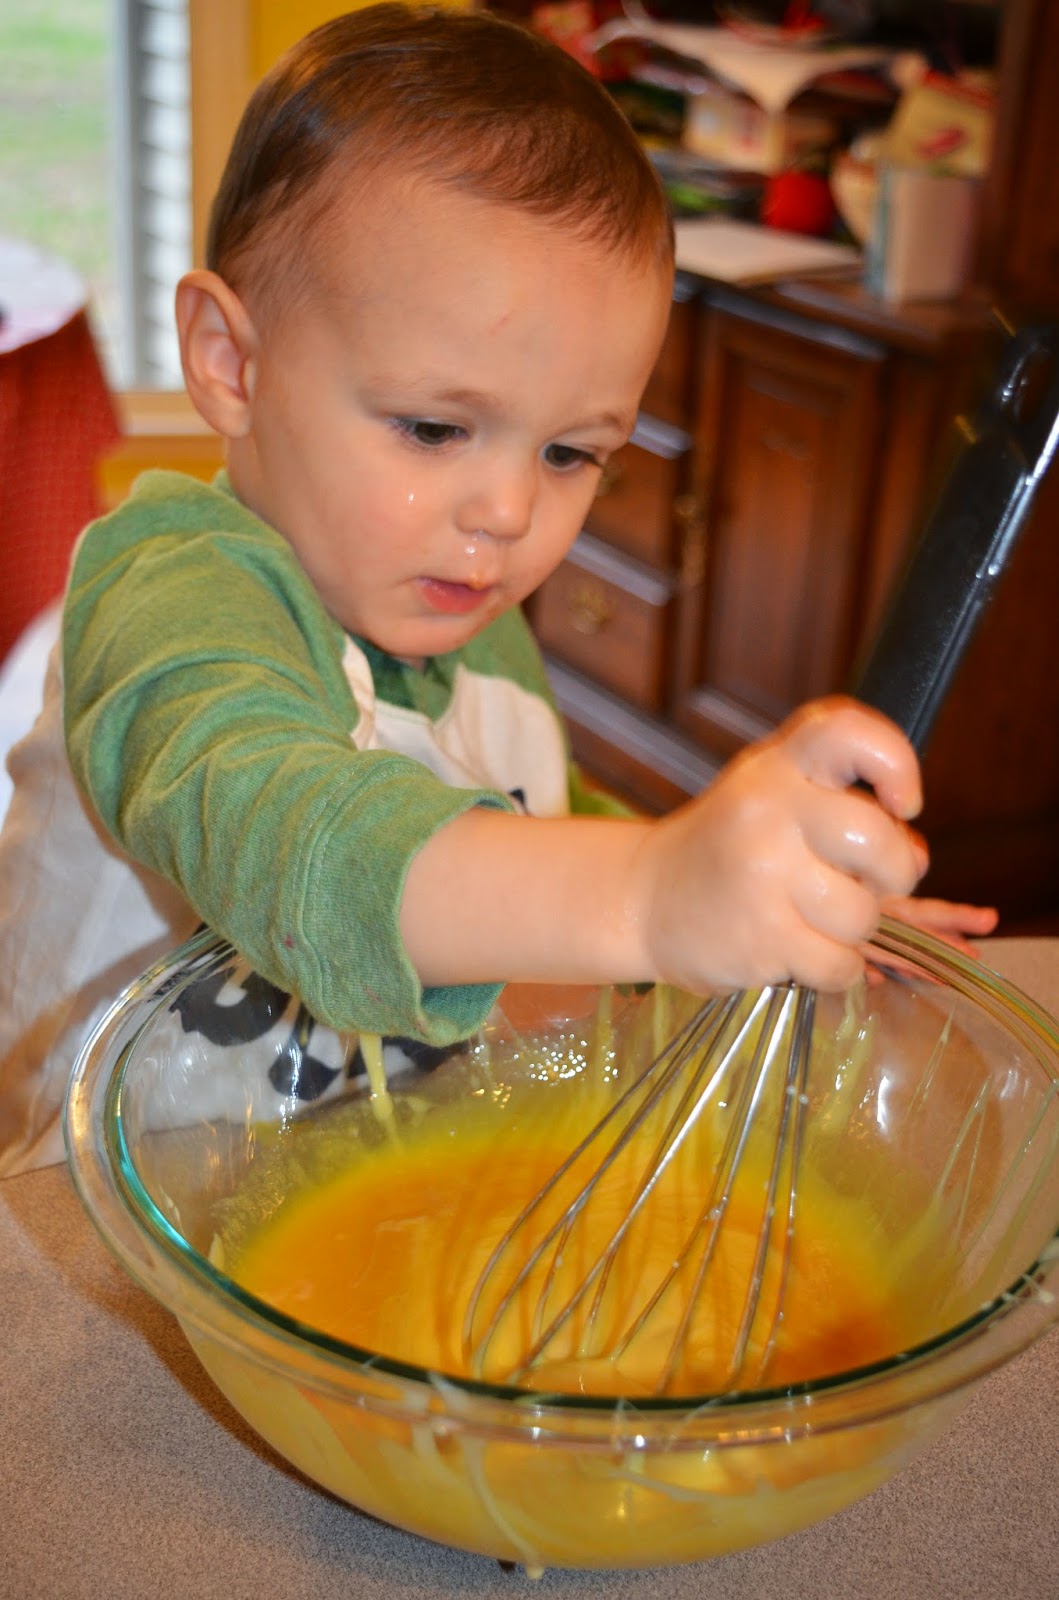
For the Cutie Pie, I simply substituted orange juice concentrate for the lime juice and added a dash of lemon juice to give it some extra tang. I was going for a Creamsicle type flavor. Garnished with some fresh Cutie wedges, and voila, a simple Cutie Pie that even a toddler can help make.


The Cutie Pie

Ingredients
1 can Sweetened condensed milk
1/2 cup Orange juice concentrate (no pulp, thawed)
1 tablespoon lemon juice
8 oz. container (regular) Cool Whip (thawed)
1 large graham cracker crust
Cutie clementine wedges for garnish

Directions
Whisk sweetened condensed milk with orange and lemon juice. 


Fold in Cool Whip until just blended. 
Pour filling in crust.  

Refrigerate 6 hours or overnight. You can also freeze it to serve later. Garnish with Cutie wedges before serving.


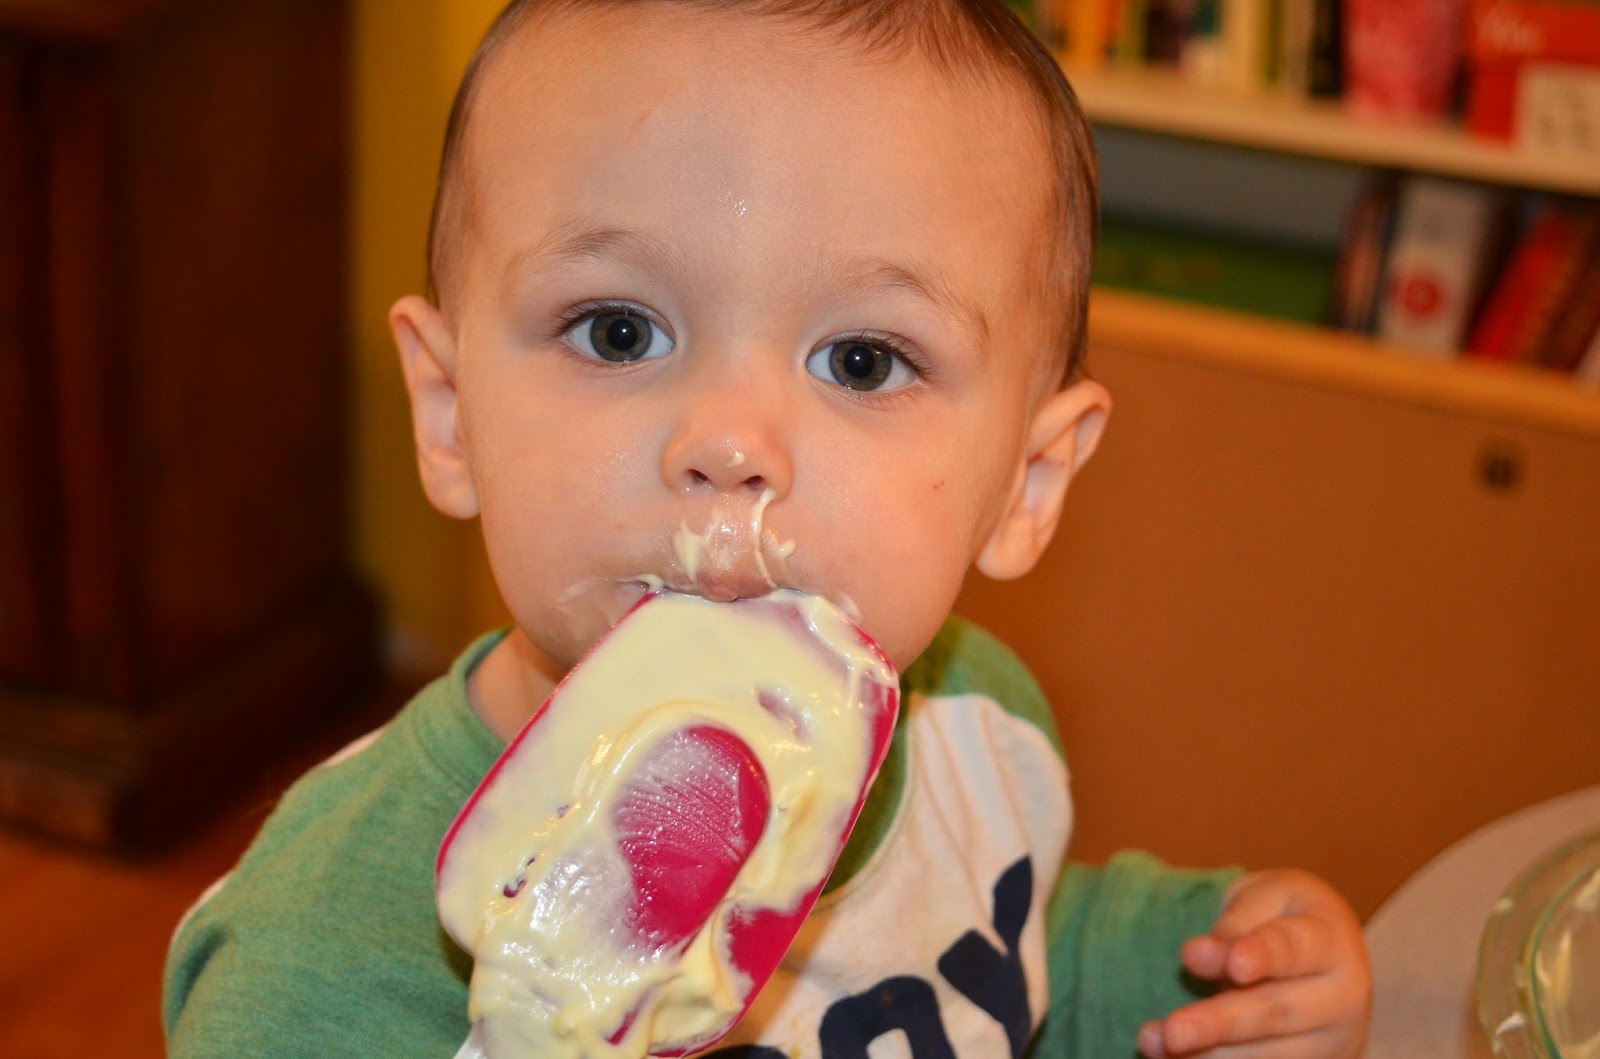
Don't forget to lick the spoon and whisk!

And clean up any sticky messes. 


Tuesday, March 3, 2015

Bathroom Renovation: Mirror Frame


I am in the midst of renovating the master bath in our new home. While the house itself is generally very nice, things like the mirrors and cabinets are builder-grade and lacking any sort of style or personality. I'd seen on pinterest several posts about folks who had added frames to their boring mirrors to give them a polished hotel/spa bathroom feel. Every post promised it was an easy DIY project that wouldn't cost very much. You never know when a supposed foolproof pinterest project will turn in to a pinterest fail, but this one did not!

Before - hubby's side and the inspiration
shower curtain
Before - my side

I started out by measuring my mirrors. There are two in the bath and they were hung slightly differently, so my new frame was going to unify their look (one mirror was about 2" above the sink backsplash, the other was flush with the backsplash). I measured from the edges of the mirror, and then added on the little bit where those doofy plastic clips stuck out beyond the mirrors' edges. I needed a total of ~32' of trim.

Doofy little mirror clips
I went to Home Depot to investigate styles of trim. There were some beautiful, chunky door and window casings that were $2.20/ft, but my budget-conscious self opted for a simpler choice (2 1/2" wide) for $0.80/ft. It was a primed composite material, no need for real wood since I was just going to paint it. My total cost was about $30 for the trim. I also picked up a tube of Liquid Nails adhesive and the caulking gun thing.

Since I am also painting the bathroom cabinets, I already had the paint on hand to use for the mirror frame. I'd added Floetrol to my gallon of semi-gloss paint (Behr Dark Truffle PPU5-19, from Home Depot) The Floetrol helps the paint self-smooth when you brush it on, reducing the appearance of brush strokes. One bottle will last you through several gallons of paint, and it's a worthwhile investment for any painting project you want to come out nice and smooth. I also used the fancy Purdy brush I splurged on. I'd read that a good brush makes a difference, and I found that to be true.


All my supplies in hand, I then cut my molding pieces. I used my table saw, mitering the corners at 45 degrees. If you don't have a good saw at home, the friendly folks at your big-box hardware store can cut them for you, or you can get a miter box and hand saw to do it at home. The important thing to watch is that the thick edge of the casing, which will be on the outside of the frame, is where the widest part of your miter is, and the thinner part of the molding is shorter edge. I cut a couple wrong, but fortunately had allowed myself enough leeway to correct my error.

Next came painting the boards. This was the most time consuming because, well, paint takes time to dry. If you buy your supplies one weekend, and paint a coat daily throughout the week, you can finish up the following weekend. Rather drawn out, but necessary. I painted three coats on the front of the molding and two on the back. You need to paint the backs because they will show in the reflection of the mirror.


Now it's time to hang. Some folks glue their frame together before installing - I didn't do that. Instead I installed each board separately. First you need to chisel out recesses where the doofy little plastic mirror clips are so that they can nestle within the board (which should be flat against the mirror). We held the pieces in place and marked on the back of the board where the clips were. My husband had the bright idea to start the notches with my Dremel Multi-Max tool, which then made chiseling the notches out very simple. Just make sure not to cut all the way through the board!
Dremel
Chisel

Next, a thick (but not too thick) bead of Liquid Nails is applied to the back of the boards.Make sure not to get it too close to the inside edge of the molding or it will show in the mirror's reflection. Slap that puppy up on the mirror and secure in place with some painter's tape.

Watching glue dry
I let the glue dry overnight, and in the morning my little helper assisted in peeling the tape away.


I then used some spackle I had on hand to fill the spaces between the mitered corners. When that dried I touched up the corners and some other chips that the paint sustained during our installation.

Filling in the gaps
The result is really great. Even my husband, who proclaims no eye for interior design, was high-fiving me during our installation and stood back to admire the finished product. I think it makes the bathroom look polished, custom, and much more chic that the boring old builder-grade mirror. I highly recommend this project for anyone, and will probably do it as I go through and modify the other bathrooms in our home.


Great, right? Care to see the before and after side-by-side?


Ok, granted the wall color, light fixtures, cabinets, and all the rest have a huge impact bu, hot damn! Check out that mirror frame!