Sunday, March 29, 2015

The Bees' Needs

Life at the Lazy Duck Ranch is getting as busy as... well, a bee! We have chickens in the coop, goats in the pasture, and now we are just waiting for the bees for our hives. In addition to the hive we won at the beekeeping class, we purchased another setup just like it from the same vendor and plan to have two hives started this summer. As with most things on the farm, the bees will take a year to get established, so we don't anticipate much of a honey harvest this year. Patience is the name of the gane around here!

There is a local Amish man, Albert Zook, who recently took over the business from his father making beehives. We visited his workshop to pick up our hive. It was a neat experience, just showing up to someone's house where they have goods for sale. It is pretty common here for everything from produce and eggs to furniture and, in this case, beehives. The prices from this craftsman are about half what we'd pay from the beekeeping catalogs, so it was a no-brainer to shop locally! Plus the drive through the country to his home was gorgeous. When we arrived, there were the traditional Amish clothes drying on a line out front, and no electricity or motorized vehicles to be seen. His shop was immaculate (enviable given the current dust-covered state of our own workshop). He had a good stock of what we came to buy, but needed to put a few more nails in the hive stand we wanted, and did so on the spot.

Primed
WHOOPS! Overzealous painting
We needed to get one of the hives to the man who is going to provide us with the swarm of bees. Every year, a hive of bees grows a new queen and evicts the old one. She takes half the colony with her, creating a swarm. One of the members of our beekeeping club has 30 active hives, and collects and sells the swarms rather than harvesting the honey and selling that. Since he never knows when the bees might swarm, we had to get him the setup as soon as possible. I spent hours priming and painting our first hive. Hives are painted with exterior paint to protect them from the elements. I thought I was being extremely thorough when painting ours and made sure every speck of raw wood was covered. We come to find out that - whoops! - you're only supposed to paint the outside, because the smell of the paint on the inside can disturb the bees and cause them to reject the hive. So now we have to decide if we make the trip back to Mr. Zook to purchase replacements, or attempt to remove the paint from the inside somehow (heat gun or sanding, probably). Lesson learned. We returned with a properly painted box from our second hive setup and dropped it off to await its new residents. We have a second colony of bees on order through a catalog which will arrive at the post office around May 9th.

All that remains to prepare for our bee friends is to finish painting the rest of the hive parts (just the outsides!) and order the last few supplies we need to get us going. Bees start out drinking sugar water to jump start the honey production in the hive. This initial stock of honey is what will get them through the winter. So we need dispensers for that, and possibly the recommended additives to keep our hive healthy. We also probably need a second set of protective gear so we can both work with the bees at the same time.

Saturday, March 14, 2015

Pi Day Recipe: Cutie Pie!


The KLAW is now an 18 month old toddler with a strong will. He knows what he wants, and even though he has a very small vocabulary, lets us know exactly what that is. Lately the thing he wants most is FRUIT!  He will eat fruit for breakfast, lunch, dinner and snacks. Today he has had five bananas. I know this is about four too many, but at least it's something unprocessed and full of nutrients. He can say banana (nana), but also loves apples, pineapple, grapes and citrus, especially clementines or mandarins.
mmm nanas!
peeling Cuties
The Cuties clementines/mandarins are especially great because he likes to peel them once I get it started. Then they break up in to bite-sized seedless wedges, perfect for little hands (as advertised). I made the mistake of buying another type of orange citrus (tangerines, I think) and made a huge mess every day as I unseeded the darn things for him.
Cuties!
Pi Day is here, an annual tradition observed on March 14th (pi=3.14=3/14) by nerds like me around the world. This year is going to particularly epic. Pi to many decimal places is 3.141592653 which makes the magical moment 3/14/15 at 9:26:53 a.m. or if you want to be extra specific 3.14159265359 which rounds to 3/14/15 at 9:26:54 in the morning. But with a toddler around, I would be doing pretty good to have anything coordinated in the nine o'clock hour, in some time zone somewhere. We'll be having breakfast pot pies (the cheapie Budget freezer ones) at that epic moment, or thereabouts.


But I still wanted to have a sweet pie, so I came up with an idea for a pie I can make ahead of time and serve after our supper (or maybe lunch, we'll see). Combining my kid's love for the Cuties and the momentous Pi Day, I came up with... wait for it... the CUTIE PIE! Get it? Get it? I crack myself up. I have a family-favorite standby recipe from my Gram for key lime pie. It is so universally loved that it even won a bake-off at my former employer which meant the recipe was printed on their Recipe Hand Towels and sold to the public!
Wisteria Recipe Hand Towels
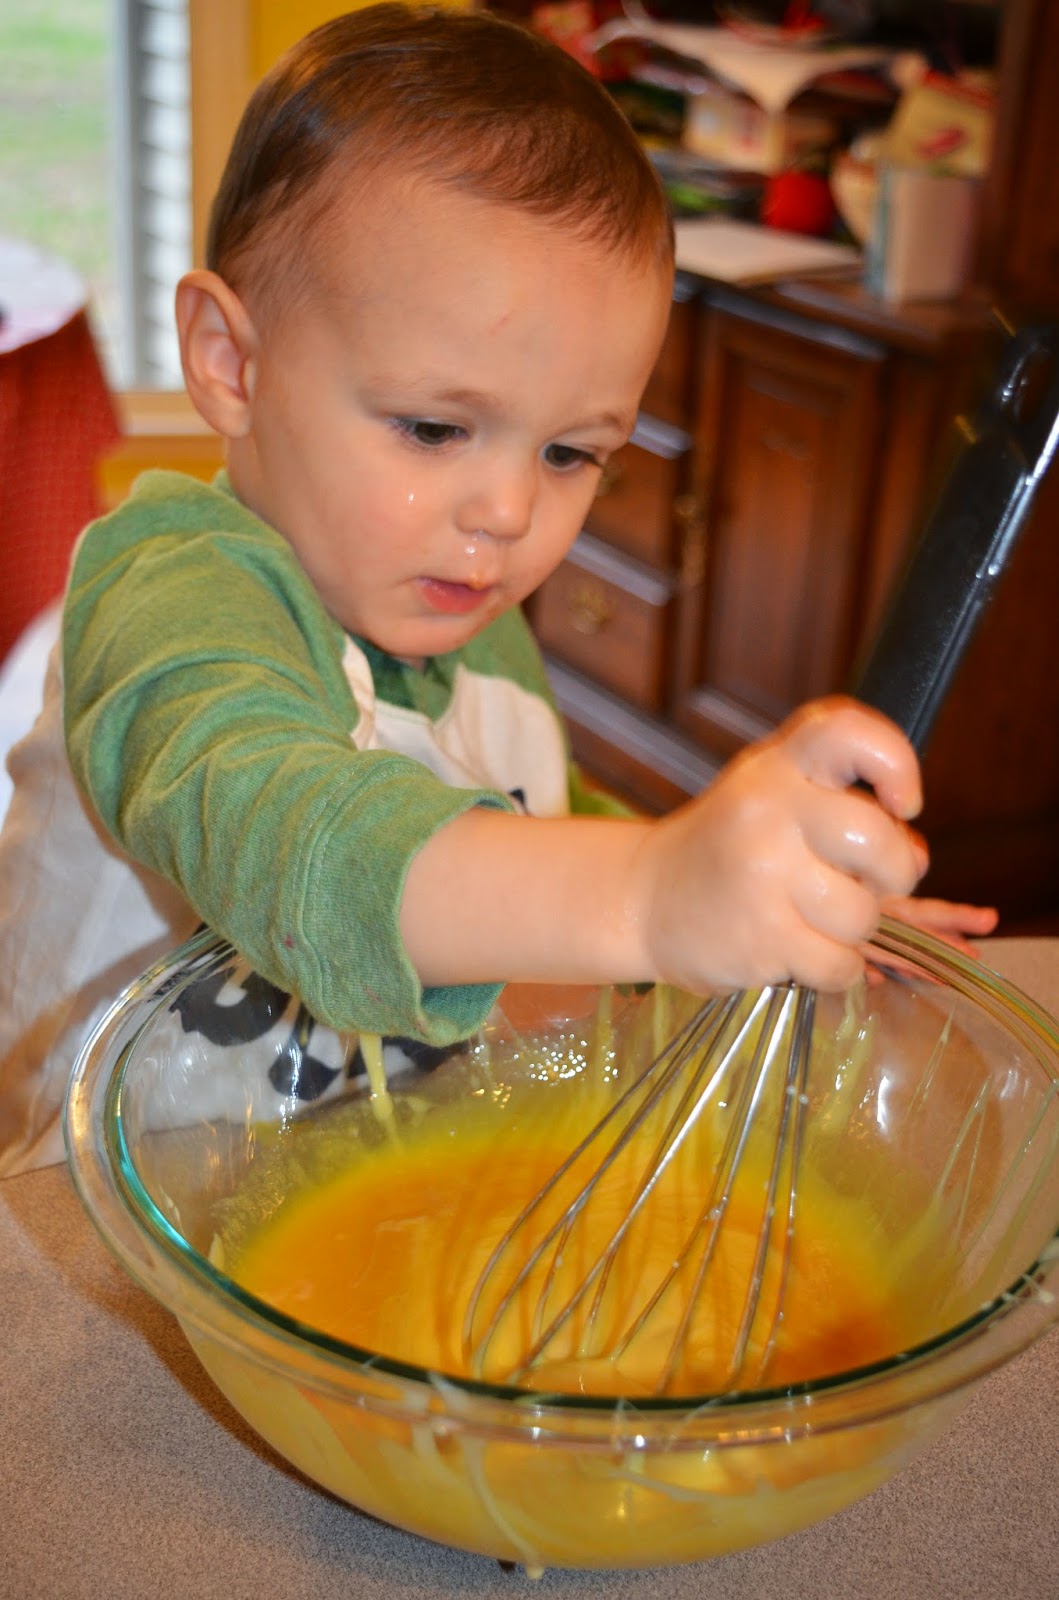
For the Cutie Pie, I simply substituted orange juice concentrate for the lime juice and added a dash of lemon juice to give it some extra tang. I was going for a Creamsicle type flavor. Garnished with some fresh Cutie wedges, and voila, a simple Cutie Pie that even a toddler can help make.


The Cutie Pie

Ingredients
1 can Sweetened condensed milk
1/2 cup Orange juice concentrate (no pulp, thawed)
1 tablespoon lemon juice
8 oz. container (regular) Cool Whip (thawed)
1 large graham cracker crust
Cutie clementine wedges for garnish

Directions
Whisk sweetened condensed milk with orange and lemon juice. 


Fold in Cool Whip until just blended. 
Pour filling in crust.  

Refrigerate 6 hours or overnight. You can also freeze it to serve later. Garnish with Cutie wedges before serving.


Don't forget to lick the spoon and whisk!

And clean up any sticky messes. 


Tuesday, March 3, 2015

Bathroom Renovation: Mirror Frame


I am in the midst of renovating the master bath in our new home. While the house itself is generally very nice, things like the mirrors and cabinets are builder-grade and lacking any sort of style or personality. I'd seen on pinterest several posts about folks who had added frames to their boring mirrors to give them a polished hotel/spa bathroom feel. Every post promised it was an easy DIY project that wouldn't cost very much. You never know when a supposed foolproof pinterest project will turn in to a pinterest fail, but this one did not!

Before - hubby's side and the inspiration
shower curtain
Before - my side

I started out by measuring my mirrors. There are two in the bath and they were hung slightly differently, so my new frame was going to unify their look (one mirror was about 2" above the sink backsplash, the other was flush with the backsplash). I measured from the edges of the mirror, and then added on the little bit where those doofy plastic clips stuck out beyond the mirrors' edges. I needed a total of ~32' of trim.

Doofy little mirror clips
I went to Home Depot to investigate styles of trim. There were some beautiful, chunky door and window casings that were $2.20/ft, but my budget-conscious self opted for a simpler choice (2 1/2" wide) for $0.80/ft. It was a primed composite material, no need for real wood since I was just going to paint it. My total cost was about $30 for the trim. I also picked up a tube of Liquid Nails adhesive and the caulking gun thing.

Since I am also painting the bathroom cabinets, I already had the paint on hand to use for the mirror frame. I'd added Floetrol to my gallon of semi-gloss paint (Behr Dark Truffle PPU5-19, from Home Depot) The Floetrol helps the paint self-smooth when you brush it on, reducing the appearance of brush strokes. One bottle will last you through several gallons of paint, and it's a worthwhile investment for any painting project you want to come out nice and smooth. I also used the fancy Purdy brush I splurged on. I'd read that a good brush makes a difference, and I found that to be true.


All my supplies in hand, I then cut my molding pieces. I used my table saw, mitering the corners at 45 degrees. If you don't have a good saw at home, the friendly folks at your big-box hardware store can cut them for you, or you can get a miter box and hand saw to do it at home. The important thing to watch is that the thick edge of the casing, which will be on the outside of the frame, is where the widest part of your miter is, and the thinner part of the molding is shorter edge. I cut a couple wrong, but fortunately had allowed myself enough leeway to correct my error.

Next came painting the boards. This was the most time consuming because, well, paint takes time to dry. If you buy your supplies one weekend, and paint a coat daily throughout the week, you can finish up the following weekend. Rather drawn out, but necessary. I painted three coats on the front of the molding and two on the back. You need to paint the backs because they will show in the reflection of the mirror.


Now it's time to hang. Some folks glue their frame together before installing - I didn't do that. Instead I installed each board separately. First you need to chisel out recesses where the doofy little plastic mirror clips are so that they can nestle within the board (which should be flat against the mirror). We held the pieces in place and marked on the back of the board where the clips were. My husband had the bright idea to start the notches with my Dremel Multi-Max tool, which then made chiseling the notches out very simple. Just make sure not to cut all the way through the board!
Dremel
Chisel

Next, a thick (but not too thick) bead of Liquid Nails is applied to the back of the boards.Make sure not to get it too close to the inside edge of the molding or it will show in the mirror's reflection. Slap that puppy up on the mirror and secure in place with some painter's tape.

Watching glue dry
I let the glue dry overnight, and in the morning my little helper assisted in peeling the tape away.


I then used some spackle I had on hand to fill the spaces between the mitered corners. When that dried I touched up the corners and some other chips that the paint sustained during our installation.

Filling in the gaps
The result is really great. Even my husband, who proclaims no eye for interior design, was high-fiving me during our installation and stood back to admire the finished product. I think it makes the bathroom look polished, custom, and much more chic that the boring old builder-grade mirror. I highly recommend this project for anyone, and will probably do it as I go through and modify the other bathrooms in our home.


Great, right? Care to see the before and after side-by-side?


Ok, granted the wall color, light fixtures, cabinets, and all the rest have a huge impact bu, hot damn! Check out that mirror frame!